
Sleeve Corrections – Peaking Out or Hiking Up – Option 2
What are your options?
1.) You can lower the armhole, making it bigger.
And/or
2.) You can slash out in several areas reducing the sleeve measurement to fit in the armhole.
3.) Always compare the reverse curve of the sleeve to the body armhole curve up to the notch. This distance and shape should be similar. More than likely, if the cap height is too low, the sleeve reverse curve is too wide.
4.) Adjust as needed making the sleeve the same as the armhole. (Or sleeve 3/8” bigger for woven materials)
5.) Refit and make sure that cap width didn’t get too small.
6.) The sleeve opening can be slashed out instead of/or in addition to/ the underarm seam reducing.
You may find that, in some cases, you can’t add as much cap height as you want. At some point, you need to get that sleeve to fit a reasonable armhole size while still having enough cap width to move.
The big thing to remember is: any time you make an adjustment on one piece, you need to adjust other pieces to fit. Always ‘control’ your pattern, checking that all seams match together for measurements. For example, if you’re working with long sleeves, you have to keep an eye on the bicep, elbow, etc.
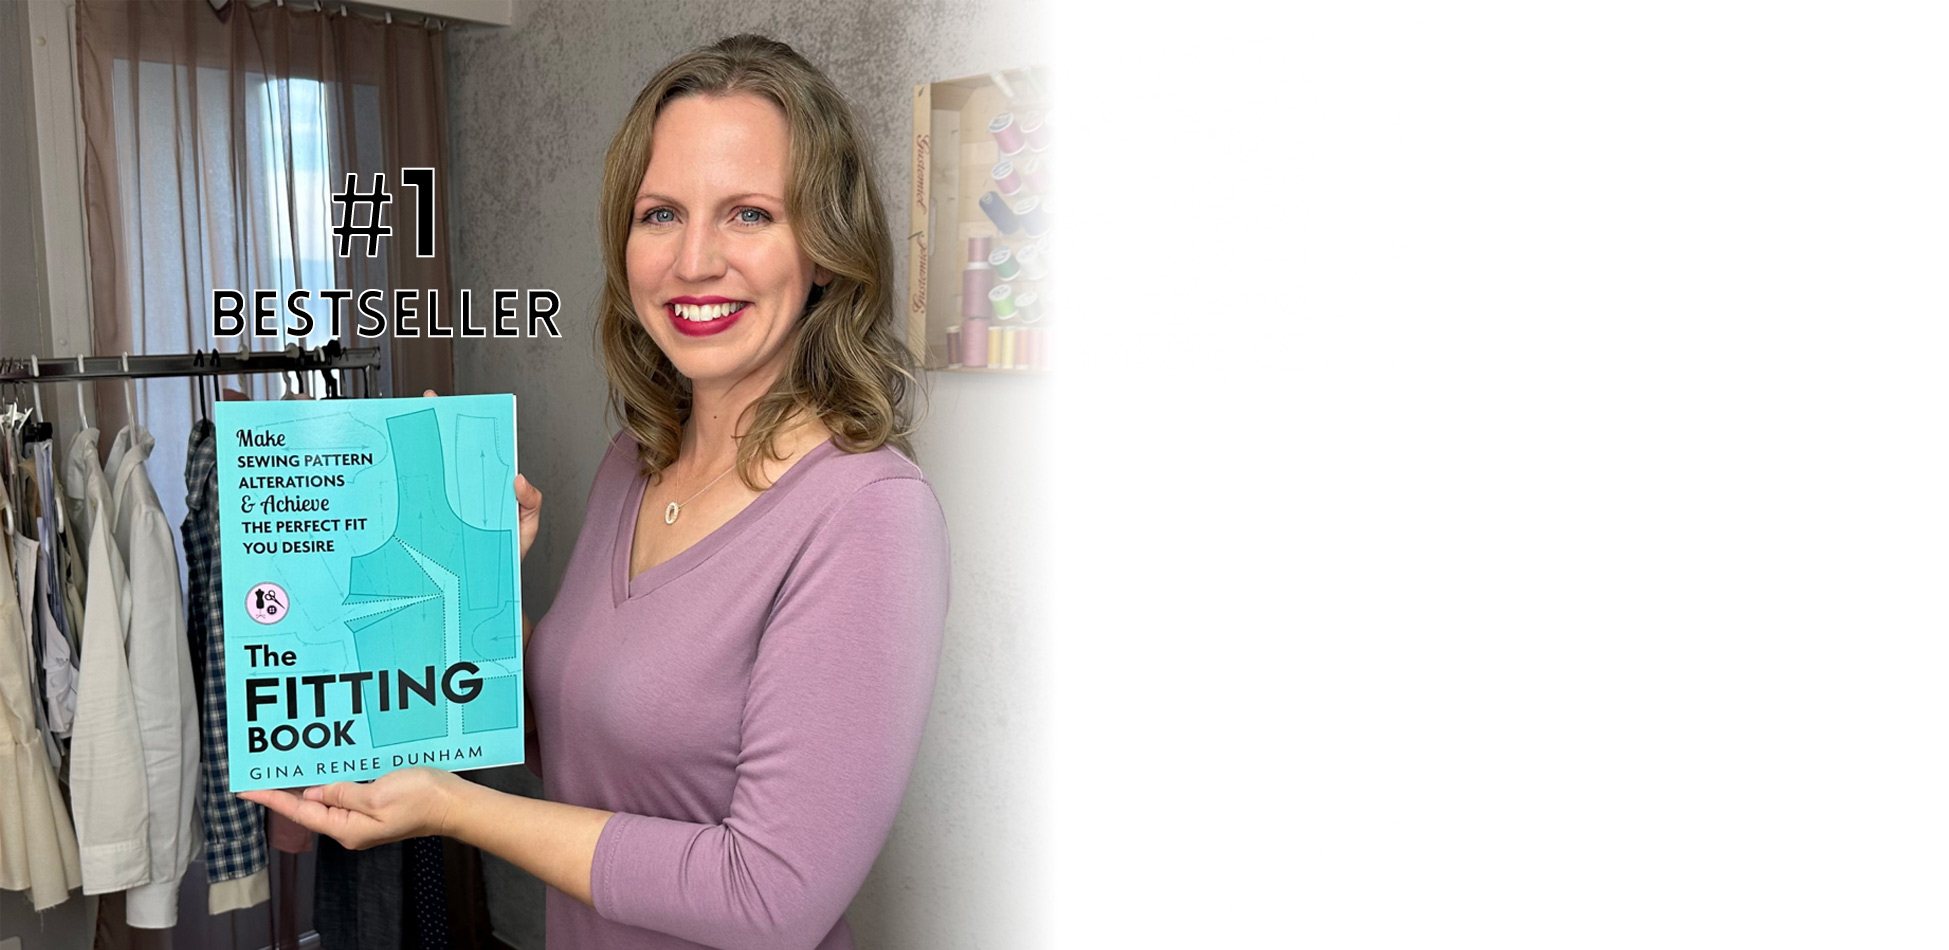
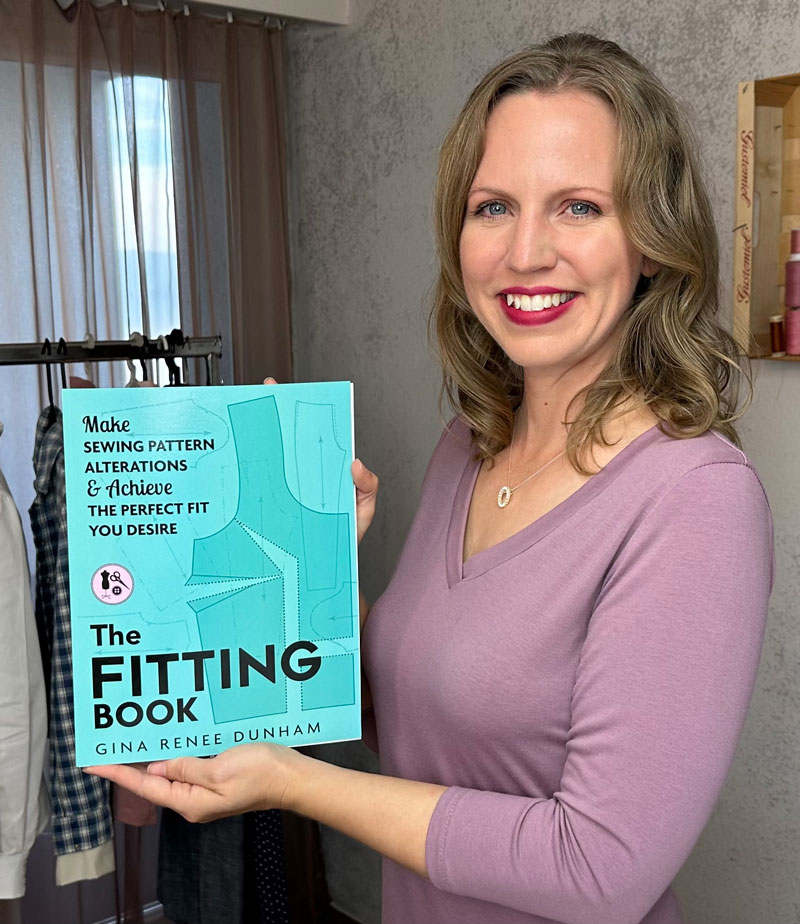
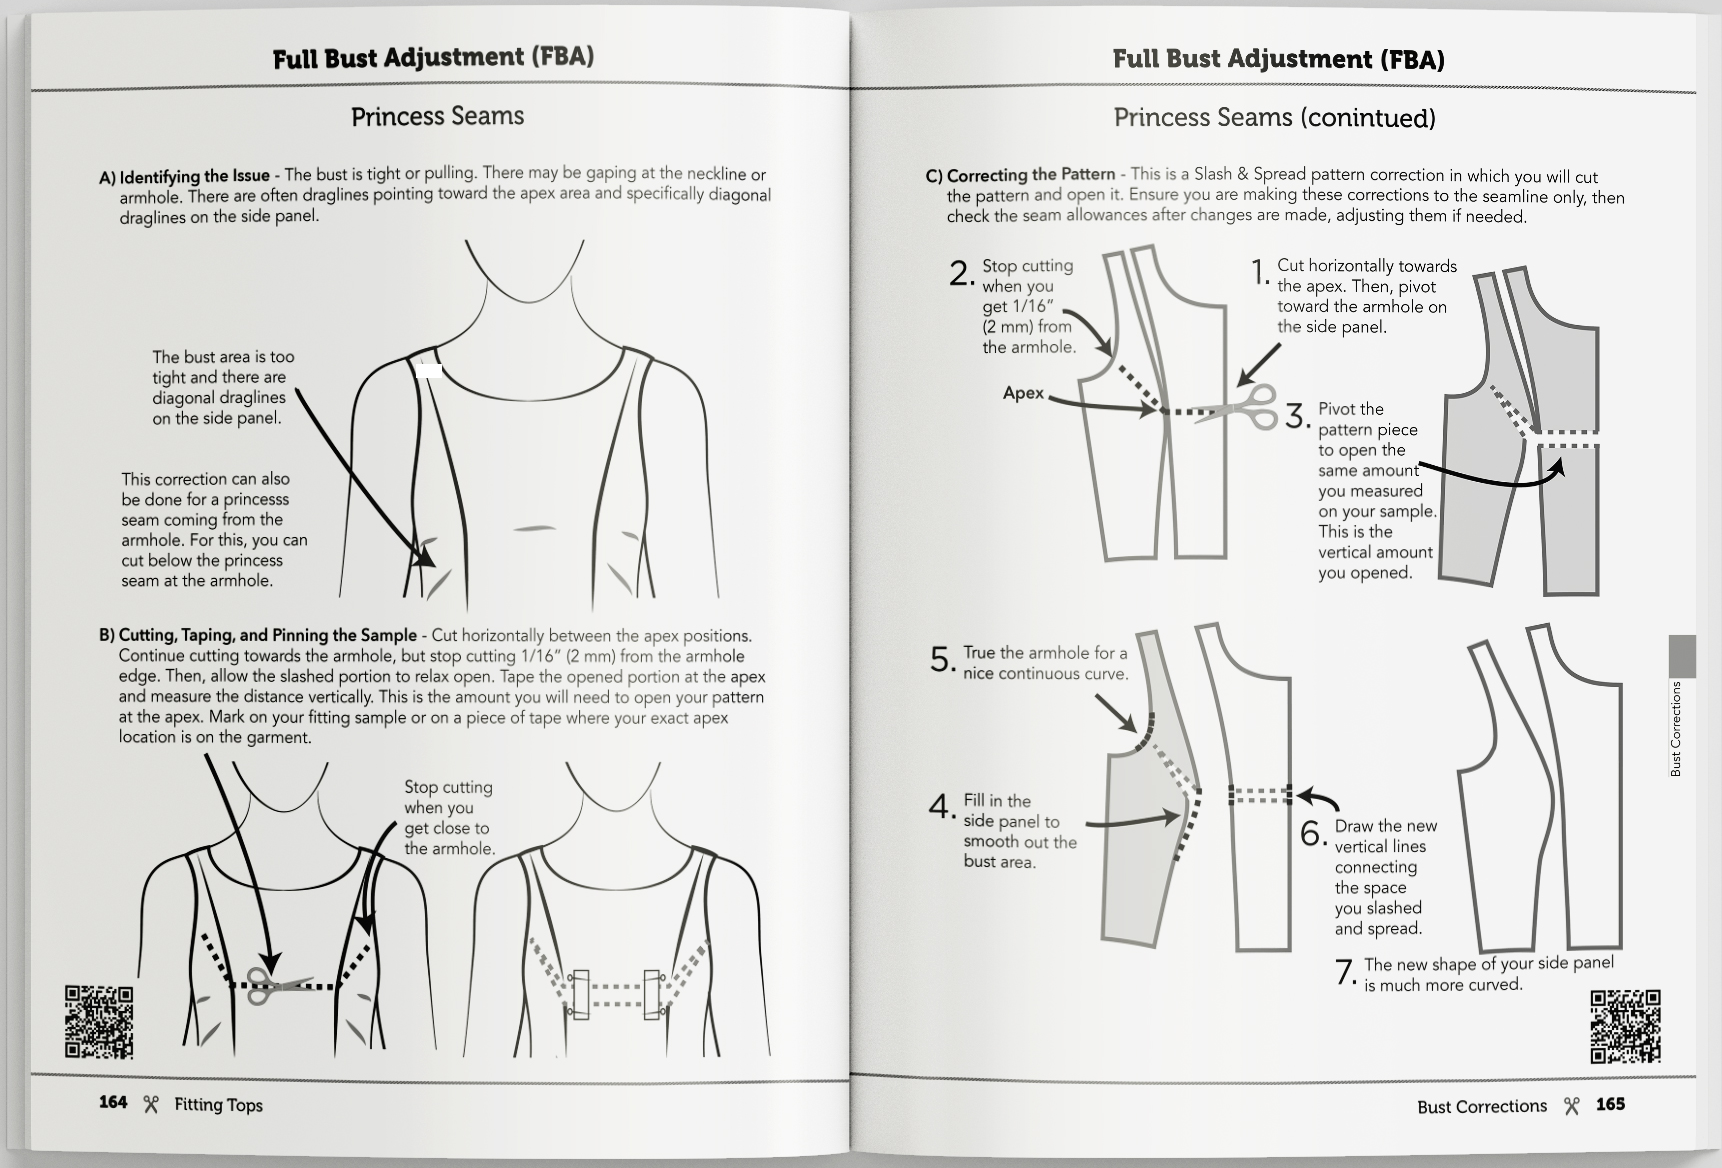
This information and more can be found in The Fitting Book. Order your book today through the link below.
Learn the 3-Step Fitting Process:
A) Identify the Fitting Issue.
B) Pin, Cut, & Tape the Fitting Sample.
C) Correct the Sewing Pattern.

The Fitting Book Includes:
Tops
Pants
Skirts/Dresses
My Secret in Diagonal Draglines
ACHIEVE THE
CUSTOMIZED FIT
YOU WANT

