
Reducing the Back Width from Across the Armholes
This correction shows what to do when the “across-back” area is too big, but you’re happy with the shoulder position.
If you’ve ever had this issue, these are the steps to correct it:
1. Pin your sample on the armhole along the across-back area on both the left and right armholes.
2. Move around to make sure it’s still comfortable. If it’s not comfortable, then you need to reduce the amount pinned until it is comfortable. When you’re happy, measure the amount you’ve pinned.
3. On your pattern, reduce the armhole to the amount you’ve pinned in the across-back area.
4. This increases the armhole measurement ever so slightly. So you may need to slash and open the sleeve in the same area (to get the sleeve to fit the new armhole). if the back sleeve is too big, you’ll pin out the amount you want to remove and then remove that from the sleeve. In order for the armhole to fit the new sleeve again, you may need to raise the armhole to make it a bit smaller.
Always check the rule after you make any adjustments! After a while, you may notice your go-to measurement and you can start from that go-to measurement for your body. Any number 1” or higher is your target. We definitely always need to hit that minimum for production garments.
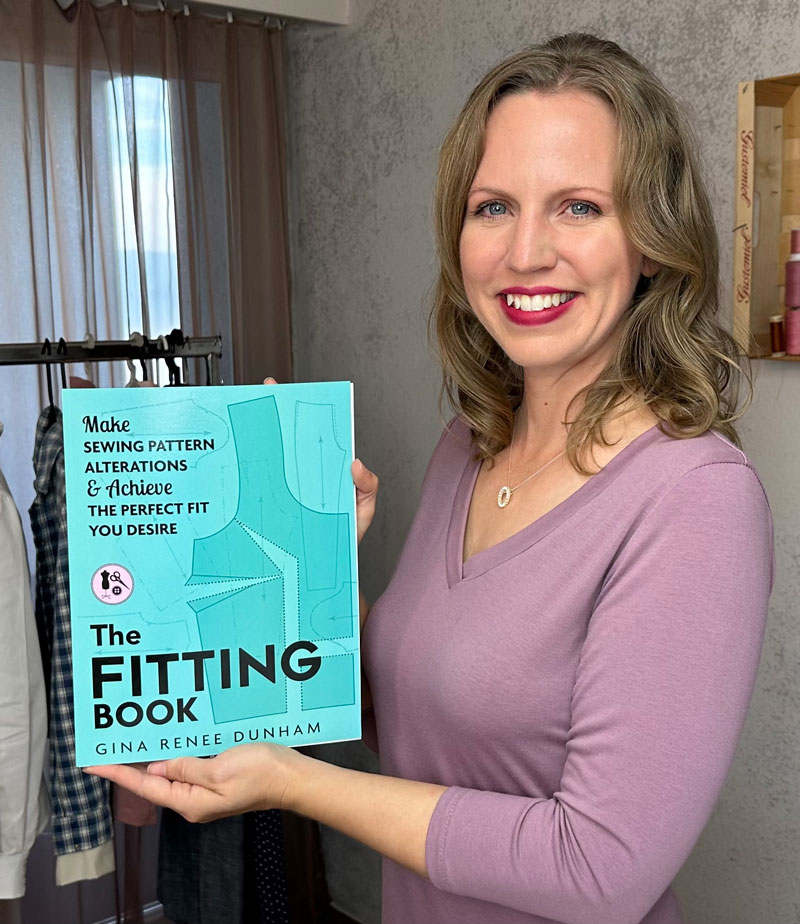
This information and more can be found in The Fitting Book. Order your book today through the link below.
Learn the 3-Step Fitting Process:
A) Identify the Fitting Issue.
B) Pin, Cut, & Tape the Fitting Sample.
C) Correct the Sewing Pattern.

The Fitting Book Includes:
Tops
Pants
Skirts/Dresses
My Secret in Diagonal Draglines
ACHIEVE THE
CUSTOMIZED FIT
YOU WANT

