
How to Lower High Armholes – Option 2
Here is option 2 for correcting an armhole that is too high.
1. Notice how the garment feels when you wear it. For example, is the armhole feeling too high, and are you noticing drag lines under the armhole?
2. Notice the darts, princess line, and waistline positions. If you think those positions are too high along with that armhole, this is the correction for you.
3. Cut across the front, back, and sleeve areas in the positions shown.
4. Allow the fabric to lower until the armhole position is comfortable.
5. Place tape/pins to keep that position in place along the “across-front,” “across-back,” and sleeve.
6. Take the garment off the body.
7. Measure the position down from the high point shoulder and mark the front and back body panels.
8. Slash and spread (cut and open) the amount you’ve taped/pinned.
9. Do the same amount to the front and back body panels to keep it balanced!
10. Measure from the low point shoulder to the position you cut on the sleeve and mark the pattern of the sleeve.
11. Slash and spread (cut and open) the amount you’ve taped/pinned.
12. Always remeasure your new armholes/sleeves to make sure they will fit together.
We have one more common reason (and correction) for high armholes, and then we’ll move on to the next topic. 😊
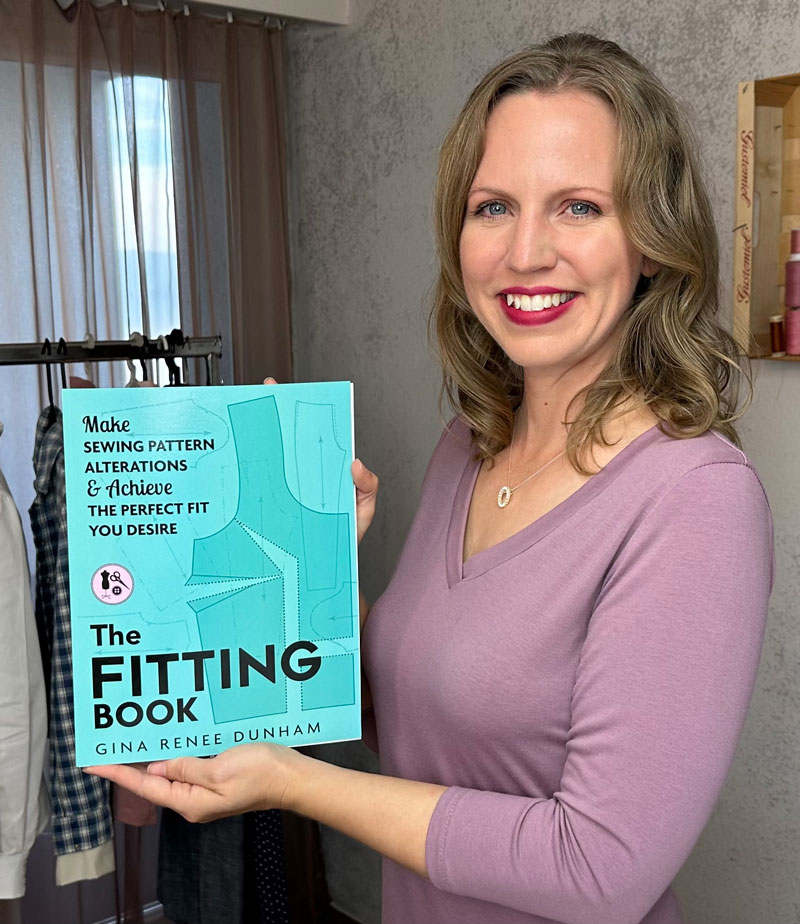
This information and more can be found in The Fitting Book. Order your book today through the link below.
Learn the 3-Step Fitting Process:
A) Identify the Fitting Issue.
B) Pin, Cut, & Tape the Fitting Sample.
C) Correct the Sewing Pattern.

The Fitting Book Includes:
Tops
Pants
Skirts/Dresses
My Secret in Diagonal Draglines
ACHIEVE THE
CUSTOMIZED FIT
YOU WANT

