
How to Raise Low Armholes – Option 2
In this series of 3 posts, we discuss what to do when the armhole is too low. There are many ways of correcting low shoulders, but here we discuss the top 3 of them. The first option raises the entire garment from the shoulder seam. The second option raises the armhole position only. The third option raises the garment from the across front area instead of at the shoulder seam.
Option 2 is done on the pattern for a more permanent pattern correction.
Pay attention to the dart/waist/princess line position before pinning. If you’re happy with it before pinning, this correction is for you.
1) Pin the across-front, sleeve, and across-back of your desired armhole position.
2) Measure the amount you’ve pinned.
3) Mark the armhole higher, the amount you measured.
4) Mark the reverse curve of the sleeve higher, the same amount.
.
A reminder to keep it balanced! Same amount front to back, assuming you started with a balanced pattern. 😆
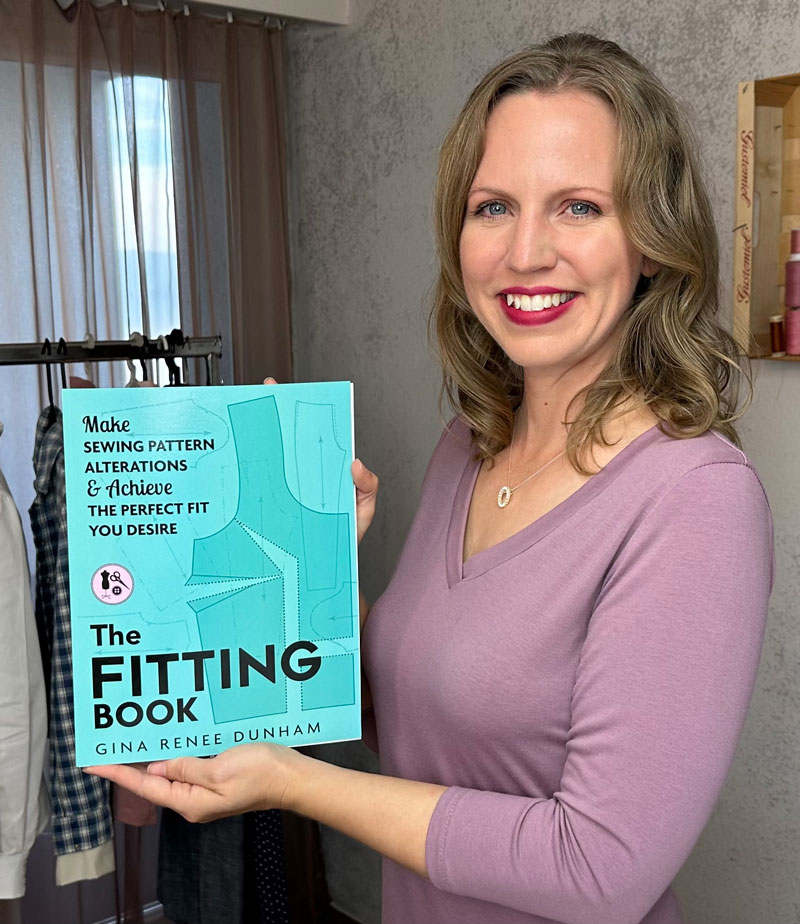
This information and more can be found in The Fitting Book. Order your book today through the link below.
Learn the 3-Step Fitting Process:
A) Identify the Fitting Issue.
B) Pin, Cut, & Tape the Fitting Sample.
C) Correct the Sewing Pattern.

The Fitting Book Includes:
Tops
Pants
Skirts/Dresses
My Secret in Diagonal Draglines
ACHIEVE THE
CUSTOMIZED FIT
YOU WANT

It’s Time to Sew Clothes You Love that Fit.
