
Fixing Back Neck Gaping – Step 2: Darts
1. Pin the excess of the back neck width in your desired dart location.
2. If you are pinning at the shoulder seam, it’s often easier to open up the shoulder seam.
3. Measure the amount pinned and noticed where the garment sits against the shoulder blades (this will become your dart length).
4. Come back to your pattern and mark the dart location for the width that you pinned and the length of your dart.
5. You can then turn that dart into a yoke or build it into a design line if you want to eliminate it.
Why would you need this dart on some people? Often it comes down to the curvature of the spine. The dart will allow for a closer fit in the neck and shoulder area.
Remember, if you have a princess seam, apply the same corrections used for the front neck panel. Find the corrections for princess seams from the armhole here, and for princess seams from the shoulder here.
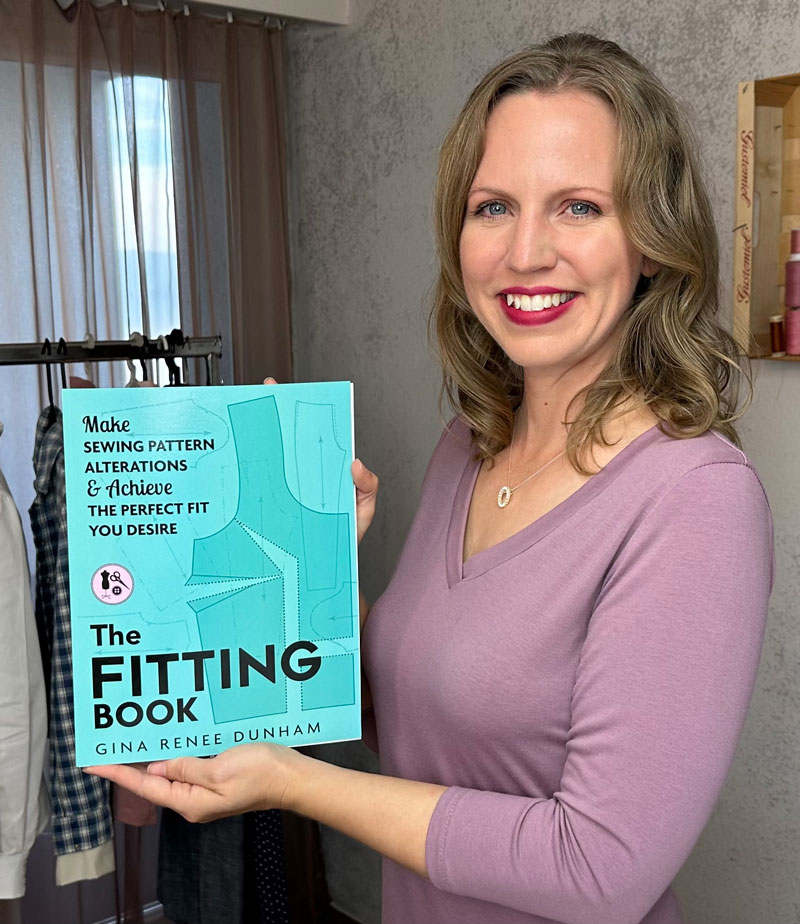
This information and more can be found in The Fitting Book. Order your book today through the link below.
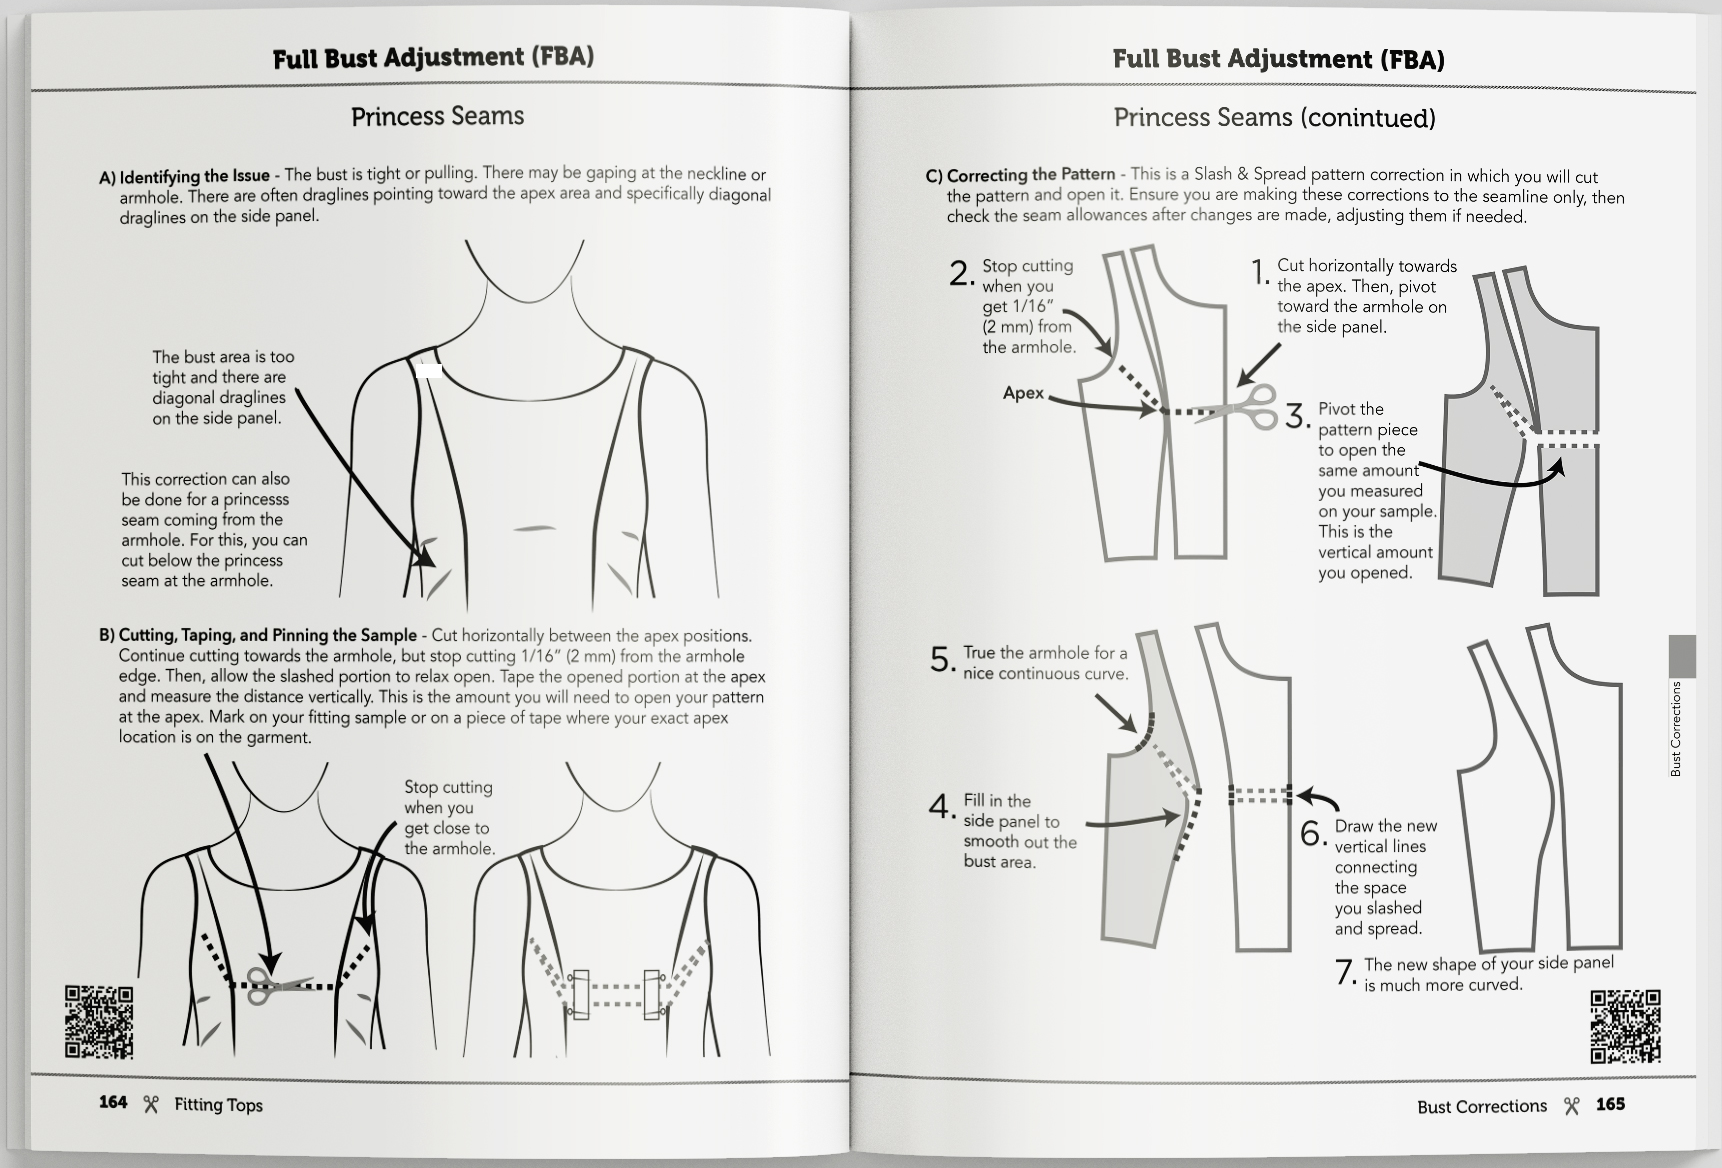
Learn the 3-Step Fitting Process:
A) Identify the Fitting Issue.
B) Pin, Cut, & Tape the Fitting Sample.
C) Correct the Sewing Pattern.

The Fitting Book Includes:
Tops
Pants
Skirts/Dresses
My Secret in Diagonal Draglines
ACHIEVE THE
CUSTOMIZED FIT
YOU WANT

