
Fixing Armhole Gaping: Set-in Sleeve Correction
1. Pin the sleeve in the same area where your armhole was gaping.
2. If you can move around ok when it’s pinned, go with option 1 to make the pattern correction.
3. If it’s too tight when pinned, go with option 2 for the pattern correction.
4. Option 1: mark the sleeve pattern in the same amount and area you’ve pinned and slash/close that amount.
5. Option 2: lower the sleeve cap height the amount needed in order to fit in the new armhole.
.
.
Pretty easy, right?! It’s best to start with option 1 when possible because option 2 will increase the draglines under the sleeve. However, if the bicep/ sleeve width was tight, you need to go with option 2.
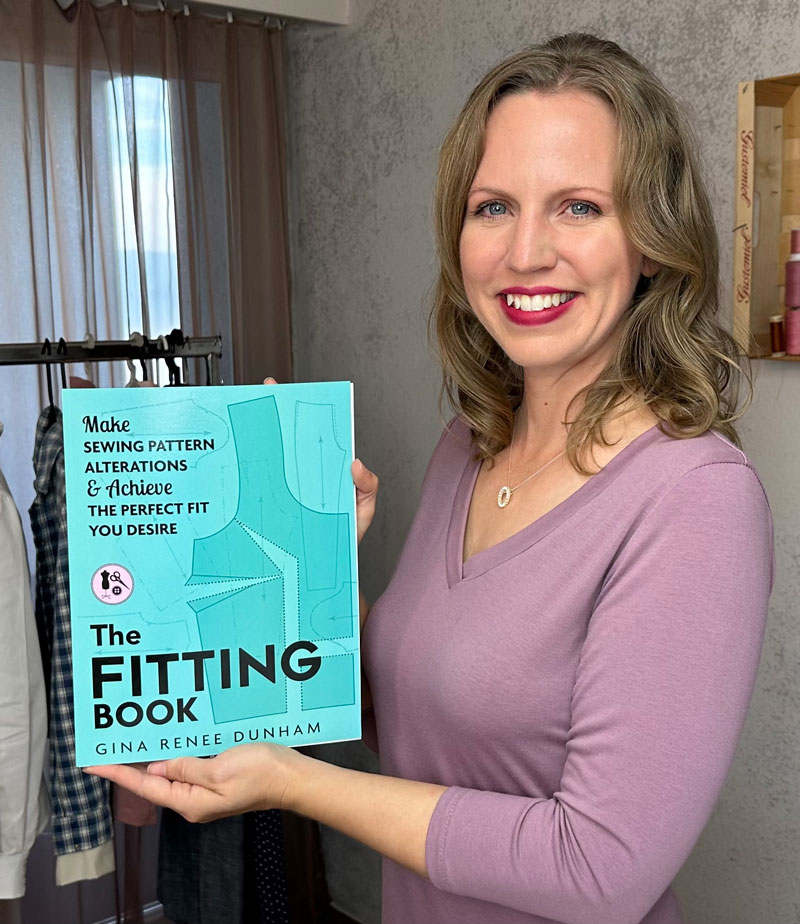
This information and more can be found in The Fitting Book. Order your book today through the link below.
Learn the 3-Step Fitting Process:
A) Identify the Fitting Issue.
B) Pin, Cut, & Tape the Fitting Sample.
C) Correct the Sewing Pattern.

The Fitting Book Includes:
Tops
Pants
Skirts/Dresses
My Secret in Diagonal Draglines
ACHIEVE THE
CUSTOMIZED FIT
YOU WANT

